WYSIWYG Template Editor
Our WYSIWYG editor makes it easy to create professional PDF templates without writing code. This guide will show you how to create dynamic templates that automatically adapt to your data.
Getting Started
- Log in to your account and go to "Templates"
- Click "Create template" and select "Blank Template"
- Give your template a name and choose a default font
Editor Overview
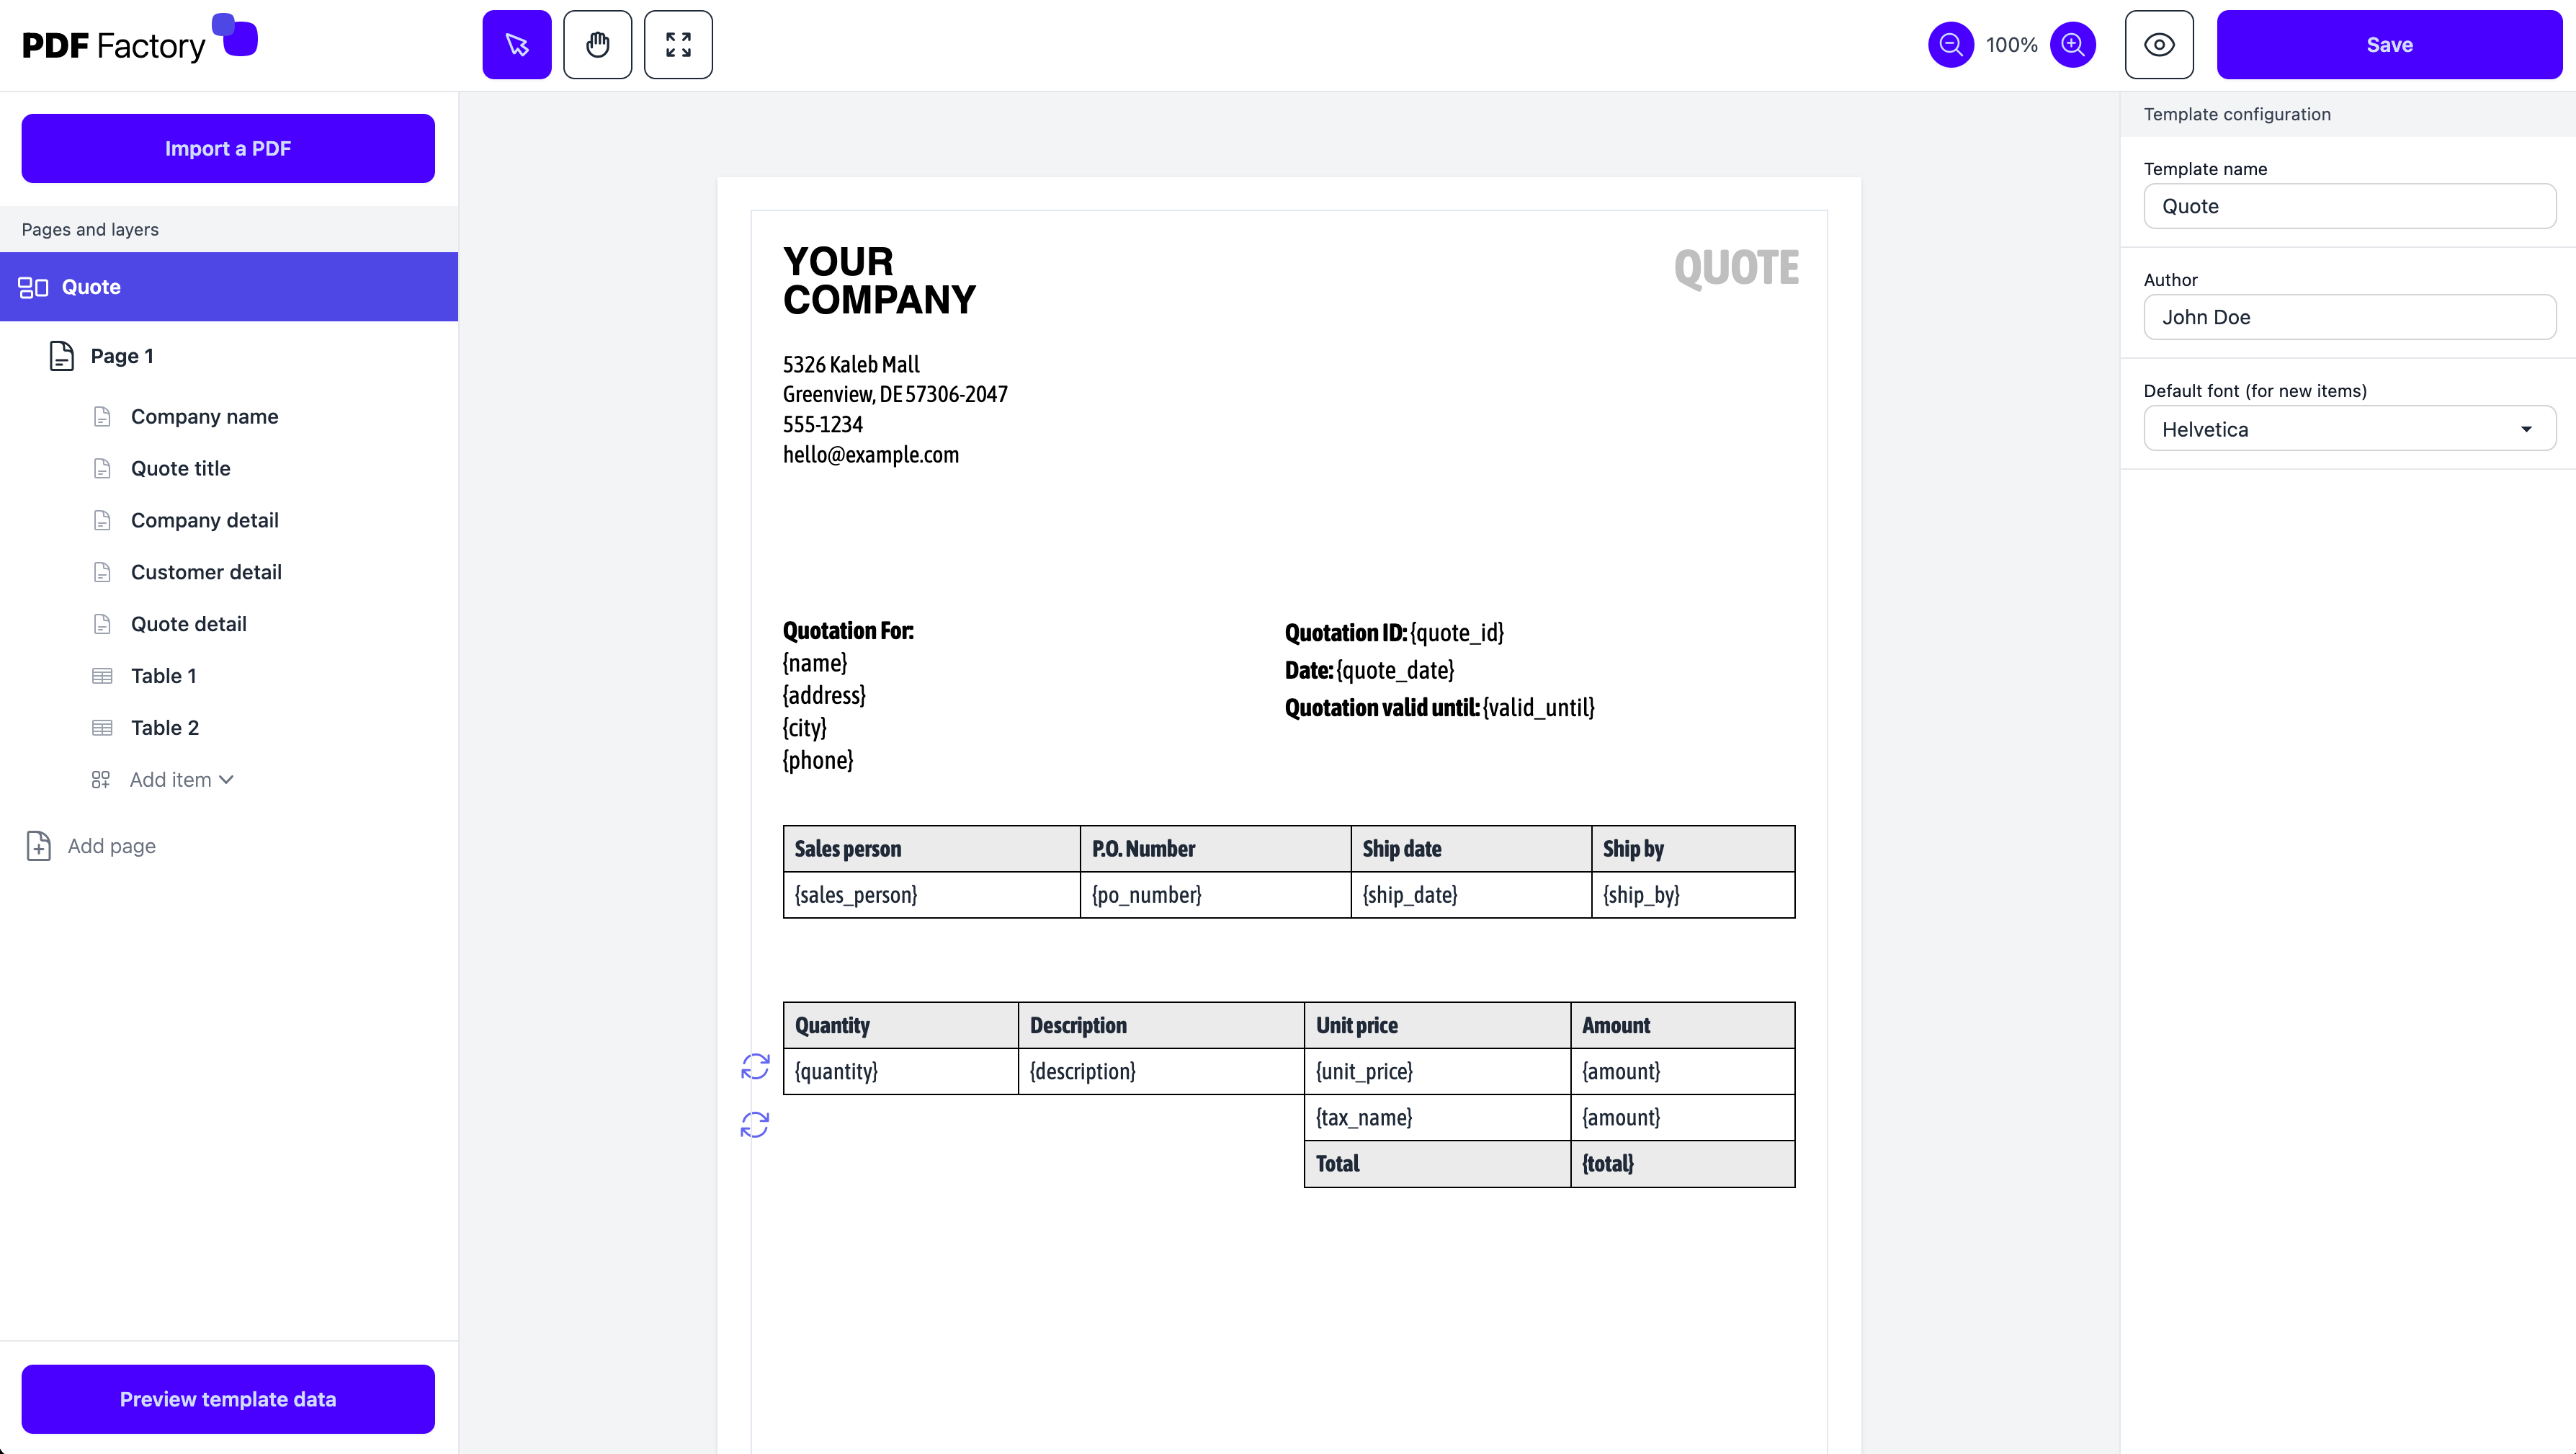
The editor has four main sections:
- Toolbar (top): Contains actions like preview and save. Shows formatting options when elements are selected.
- Canvas (center): Your design area. Drag, resize, rotate, and arrange elements here.
- Layers (left): Shows all pages and elements. Helps organize and select items.
- Properties (right): Configure the selected element's settings.
Keyboard and Mouse Interactions
Basic Selection and Movement
- Click an element to select it
- Double-click to edit text in text elements or tables
- Click and drag on the canvas to create a selection box that selects multiple elements
- Hold Cmd/Alt + Drag the canvas to pan around your document
Working with Pages
Adding and Managing Pages
- Click "Add page" in the layers panel
- Set custom page sizes or choose standard formats (A4, Letter, etc.)
- Switch between portrait and landscape
- Set page margins to control the printable area
Importing Existing PDFs
Have an existing PDF? Import it as a starting point:
- Click "Import PDF" in the layers panel
- Select your PDF file
- Each page will be imported as a background
- Add dynamic elements on top of the imported pages
Adding Dynamic Content
Text Elements
Text elements are the foundation of dynamic templates. Here's how to use them effectively:
- Add a text element to your template
- Double-click to edit the text
- Insert variables using curly braces:
{variable_name}
Example:
Dear {customer_name},

Your order {order_number} has been confirmed.
Pro Tips:
- Use text alignment tools in the toolbar when editing
- Set font, size, and color in the properties panel
- Add borders and background colors for emphasis
- Enable conditions to show/hide text based on data
Tables
Tables are perfect for displaying lists of items. Here's how to create a table:
- Add a table element
- Set up the header row with column names
- Create a repeatable row for your data:
- Select the row
- Enable "Repeatable row" in properties
- Set the "Repeatable key" (e.g., "items")
- Add variables in cells:
{name},{price}, etc.
Then you can send data like this:
{
    "items": [
        { "name": "Product 1", "price": "$10.00" },
        { "name": "Product 2", "price": "$20.00" }
    ]
}
Working with Tables
Cell Selection & Editing:
- Click a cell to select it
- Double-click to edit cell content
- Hold Shift + Click to select multiple cells
- Hold Cmd/Ctrl + Click to select individual cells
- Selected cells can be formatted together (font, color, borders, etc.)
Column Management:
- Drag column borders to resize
- Click the "+" button to:
- Add column at start/end
- Insert column before/after selection
- Select a column to delete it
Row Management:
- Click the "+" button to:
- Add row at start/end
- Insert row above/below selection
- Select a row to delete it
- Enable "Repeatable row" to create dynamic lists
Cell Formatting:
- Text alignment (left, center, right)
- Font size and weight
- Text color
- Border controls (top, right, bottom, left)
- Border color
- Background color
- Cell padding
Pro Tips:
- Style specific cells by selecting them
- Apply borders selectively for clean designs
- Use background colors to highlight important rows
- Set column widths by dragging cell borders
- Use repeatable rows for dynamic content like order items
- Combine with conditions to show/hide entire tables
Images
Images can be static or dynamic:
Static Images:
- Add an image element
- Upload your image
- Choose a fit mode:
- Stretch: Fills the frame completely
- Contain: Maintains aspect ratio, fits within frame
- Cover: Fills frame while maintaining aspect ratio
Dynamic Images:
- Set mode to "Dynamic"
- Enter the variable name (e.g., "logo")
- Pass image URLs in your data:
{
    "logo": "https://example.com/logo.png"
}
Form Fields
Create fillable PDFs with form elements:
- Text Fields: For user input
- Checkboxes: For yes/no options
- Radio Buttons: For single choice from options
- Comboboxes: For dropdown selections
Each form field needs a unique field name for identifying responses.
Conditional Elements
Make your templates adapt to different scenarios by adding conditions:
- Select any element
- Add conditions in the properties panel
- Choose comparison type:
- Exists/Does not exist
- Is empty/Is not empty
- Equals/Not equals
- Greater than/Less than
Example uses:
- Show "PAID" stamp when status equals "paid"
- Display special offers for premium customers
- Hide shipping address for digital products
Multiple conditions on one element use AND logic - all must be true for the element to show.
Best Practices
-
Organization:
- Name elements descriptively
- Use the layers panel to manage complex layouts
- Group related elements together
-
Dynamic Content:
- Test with different data scenarios
- Use the preview feature frequently
- Consider edge cases (long text, missing images)
-
Performance:
- Optimize uploaded images
- Use repeatable rows for large datasets
- Keep conditions simple